My plan is to start with small steps, so we will begin using Selenium IDE to record scripts and export them to Java. From this post on, we will then start adding more libraries to the mix, deal with more complex scenarios and maybe even run the tests from a continuous integration server or in multiple environments at once.
Please be aware that this article will be lengthy.
Here we go!
- Launch FireFox
- Download the Selenium IDE extension (currently at version 1.0.8)
- Restart Firefox
- Go to the Tools tools menu and select Selenium IDE:
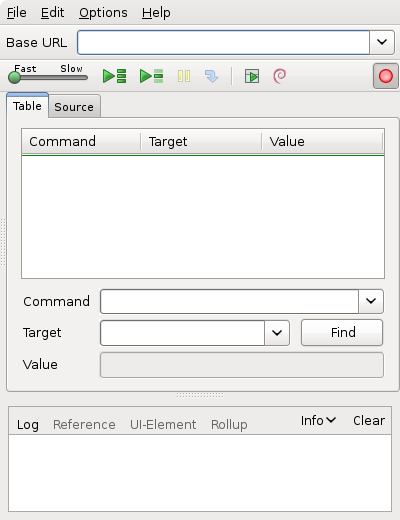
The Selenium IDE window (empty)
You are now ready to start recording your first scripts! But what are we going to record?
Most Selenium tutorials I’ve seen on the Internet use Google as the first “Hello World” example. I would like to avoid doing more of the same and use a different website for our first example. How about Twitter or Facebook? Nah… they require personal data and are kinda complex for a first example.
Hmm… Since we are using open source software, how about we test open source software as well?
OpenSourceCMS.com is a great place to find live demos of real applications, let’s pick WordPress.
Before we proceed, keep in mind that an automation project is, as it says, a project. So we need to do some planning before we start working on our script. You do plan before you test, right? 🙂
If we had to write a simple test case for the “Create New Post” functionality it would look like this:
- Go to http://demo.opensourcecms.com/wordpress/wp-login.php
- Enter “admin” in the “Username” field
- Enter “demo123″ in the “Password” field
- Click on the “Log In” button
- Verify that the text “Howdy, admin” is present
- Click on the “Posts” link
- Click on the “Add New” button
- Type “Selenium Demo Post” in the title field
- Click on the “Publish” button
- Verify that the text “Post published” is present
Quick planning done, point your browser to http://demo.opensourcecms.com/wordpress/wp-login.php and open Selenium IDE again. Repeat the steps defined above. To verify that a text is present, select the text, right click on it and select the “verifyTextPresent …” option.
You should now see that Selenium IDE recorded all your actions, as pictured below:
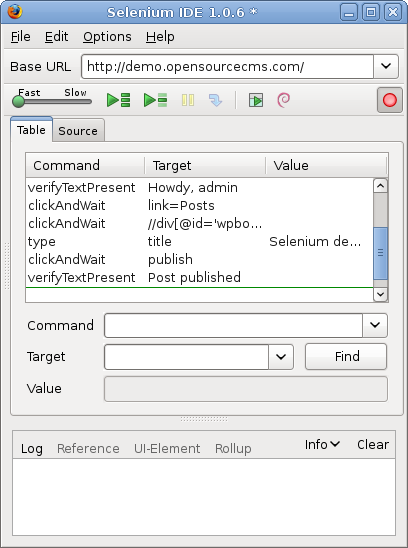
Selenium IDE with recorded steps
Now, logout, set Selenium IDE to stop recording and click on the “play current test case” button. It should playback your actions and mark all steps as passed:

Selenium IDE playback
And that was your first Selenium script! Quite simple, wasn’t it? If you are happy with Selenium IDE, you can stop here, otherwise, keep reading!
“Wait! I want more! The title of this post says “a Java approach to Selenium” and I’m not seeing any Java yet!”, you might think.
Correct. We are going to export our test to Java and run it with JUnit under Eclipse.
With the Selenium IDE window still open, click on “File -> Export Test Case As -> Java (JUnit) – Selenium RC” and save it as “WordPress.java”.
Before we proceed, we have to setup our Eclipse environment:
- Download Eclipse IDE for Java Developers
- Run Eclipse and create a new Java project, name it Selenium (or whatever you want)
- Right click on the project and click “Build Path -> Configure Build path”
- Click on the “Library” tab and click on the “Add External Jars” button
- Select the following file: selenium-java-client-driver.jar
- Right click on the project again, select “Build Path -> Add Library” and add “JUnit 4″
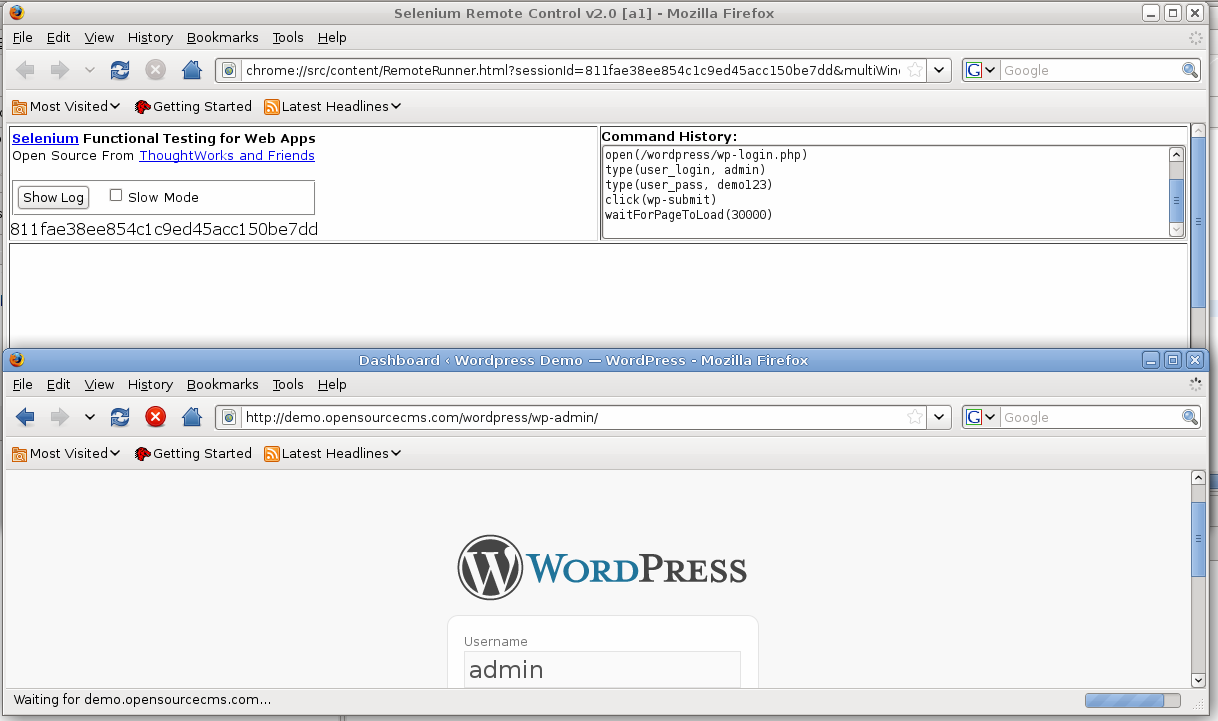
For now, we are going to run the Selenium server via the Terminal (if you are running Windows, just launch “cmd” from the “Start -> Run” window). In future articles we will integrate the Selenium server with our tests 🙂
Run the Selenium server with the “java -jar selenium-server.jar” command:

Selenium server running
Let’s go back to Eclipse. Create a new Java class named “WordPress” and paste the contents from the “WordPress.java” file you exported with Selenium IDE.
Right click on the Java editor and select “Run As -> JUnit Test”.
Eclipse will now compile your code and start your tests with Selenium:
Running the test
You should now see the JUnit report once the execution is over:

JUnit execution report
And that’s it. You have successfully ran your first Selenium script with JUnit!
The code for the script used on this post is here. I didn’t upload the entire project because I think the instructions were pretty straight-forward.
If you have any questions or suggestions regarding the subject of this post, please comment on this article.
About the Author
Felipe Knorr Kuhn I’m a passionate software tester from Brazil.
My interest in software testing started when most of my time was still considered free time and I used to spend most of it playing video games (which also helped me to learn English :).
Unfortunately, getting a job in the gaming industry in Brazil is very difficult, as it practically didn’t exist until recently. So, I left that plan aside and started working as a full time tester in the corporate software industry.
I am currently working most of my time with test automation web applications, because I’m always going to be a programmer at heart.